Namco CUS34 – second mode.
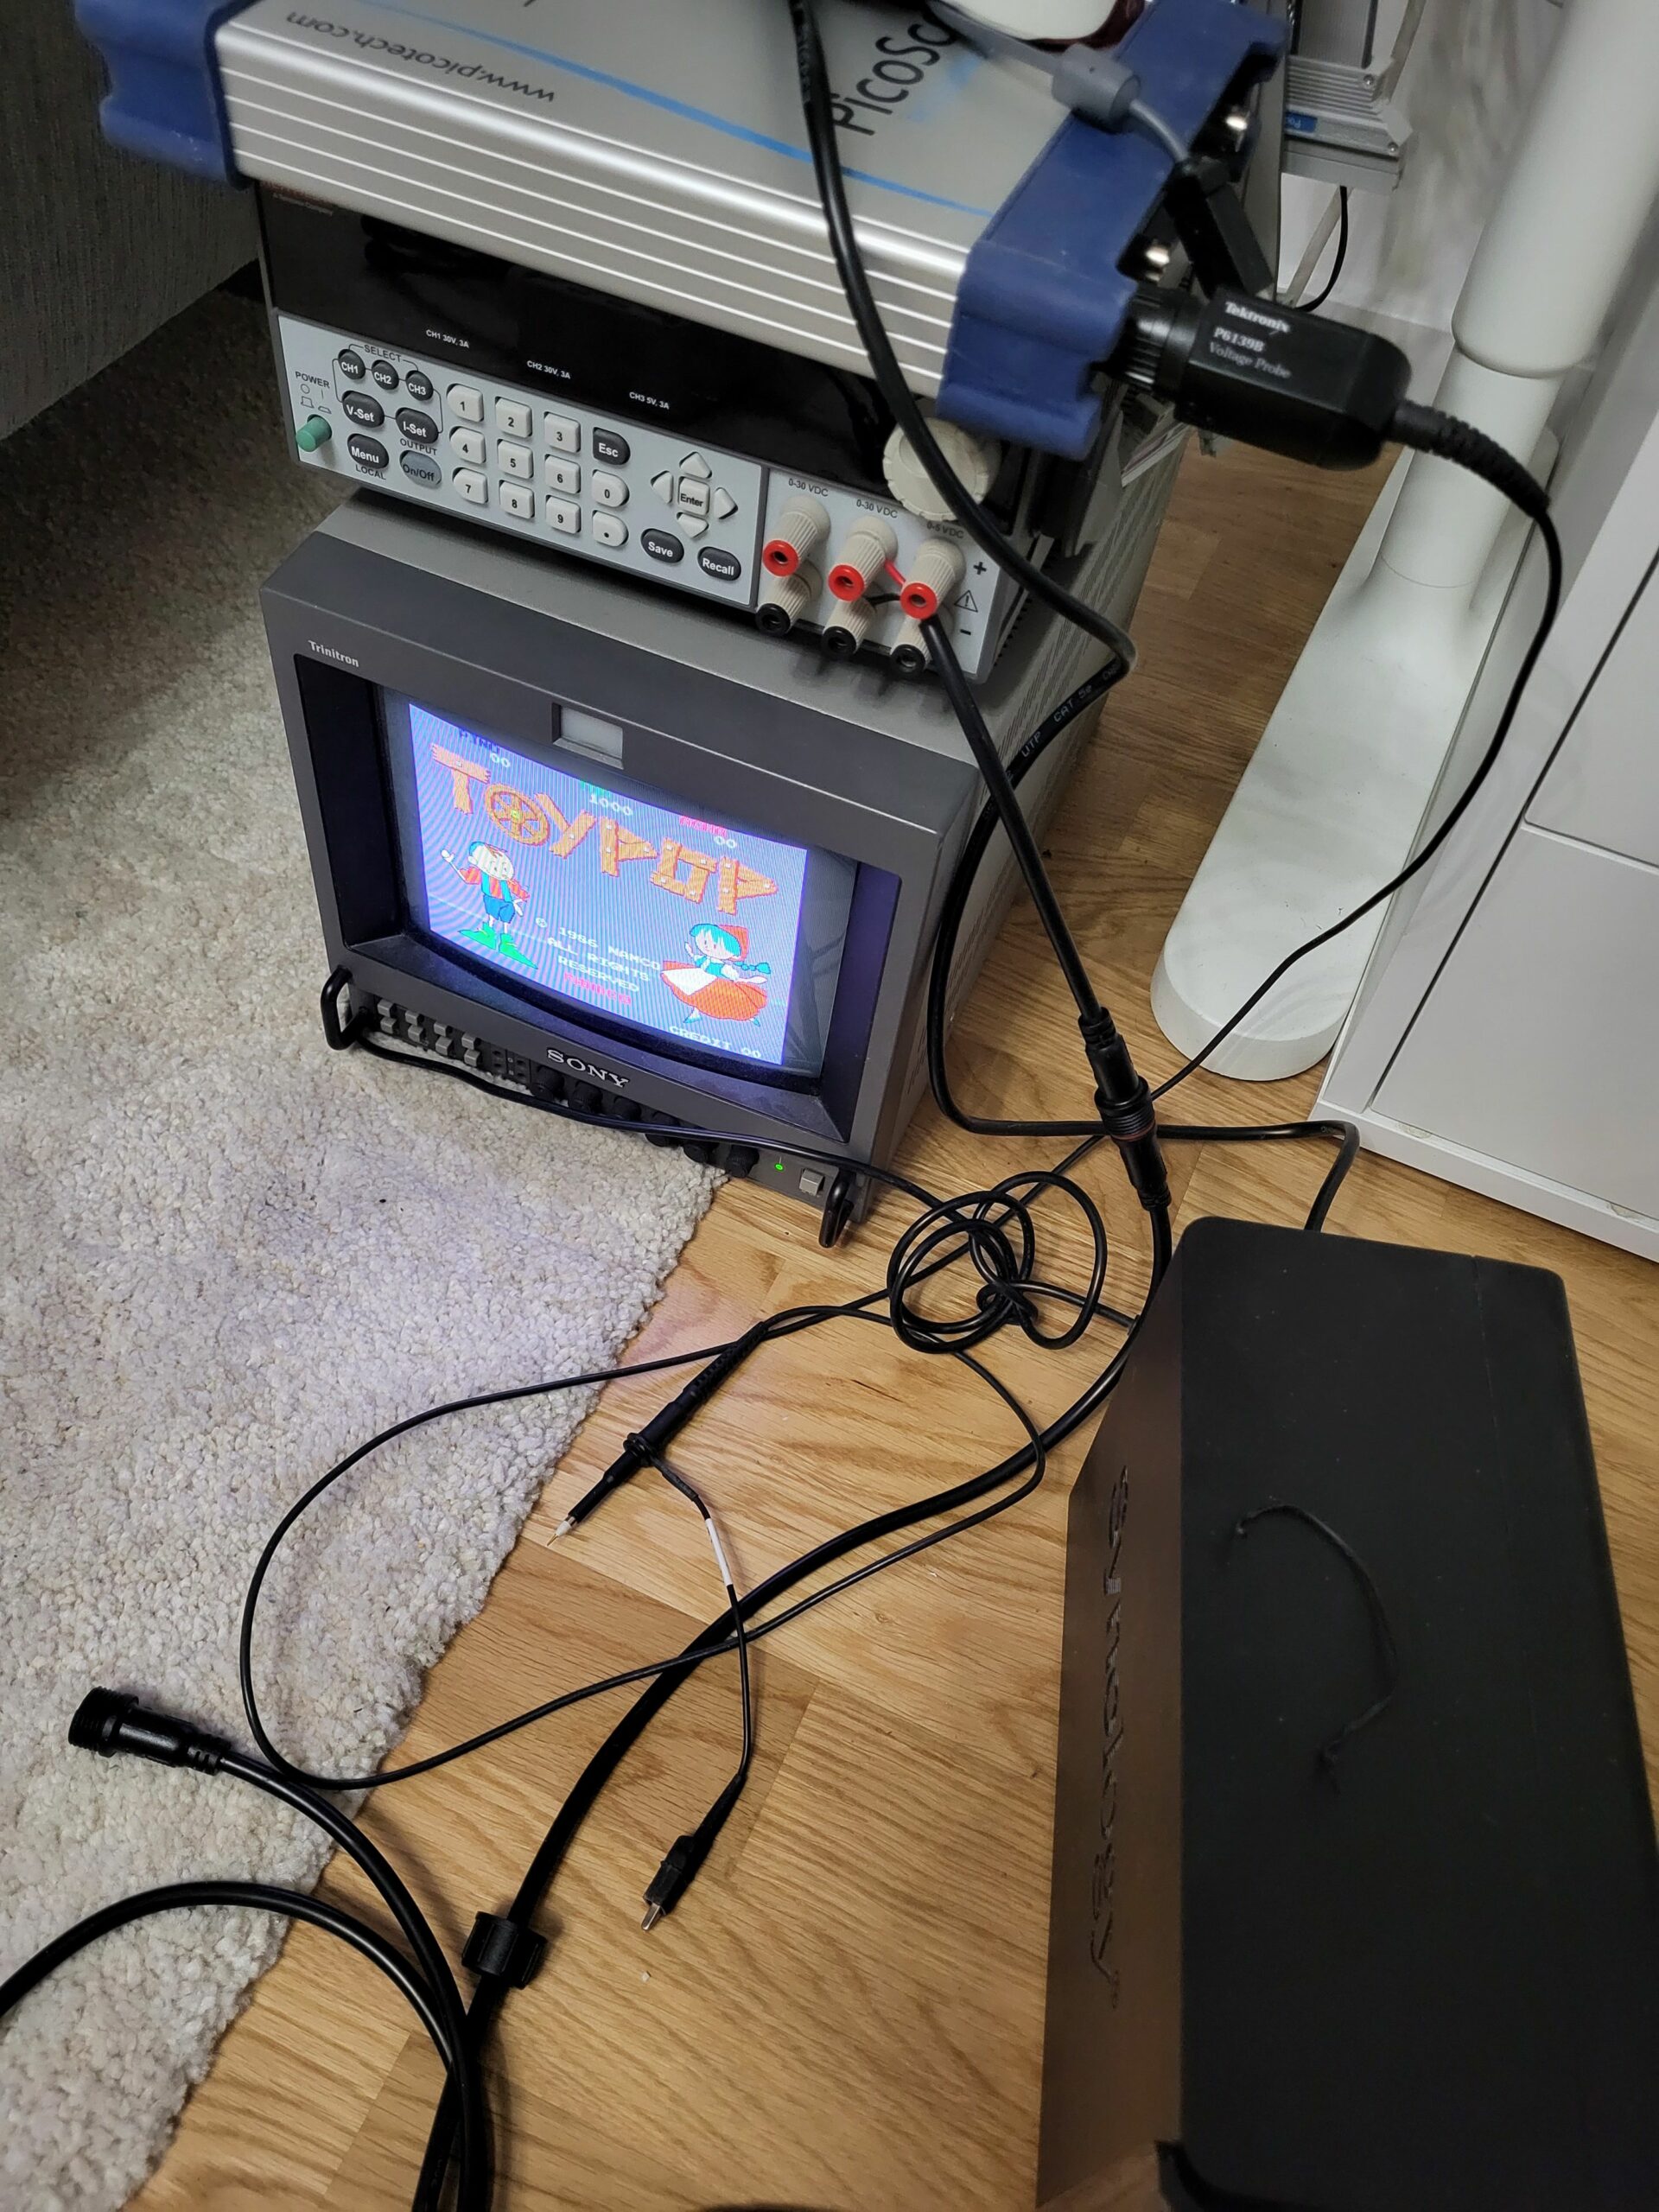
I’m fully focused on Replay2 currently, but just a quick update on the Namco CUS34 replacement. I really wanted to complete the alternative mode used on ToyPop and Libble Rabble.
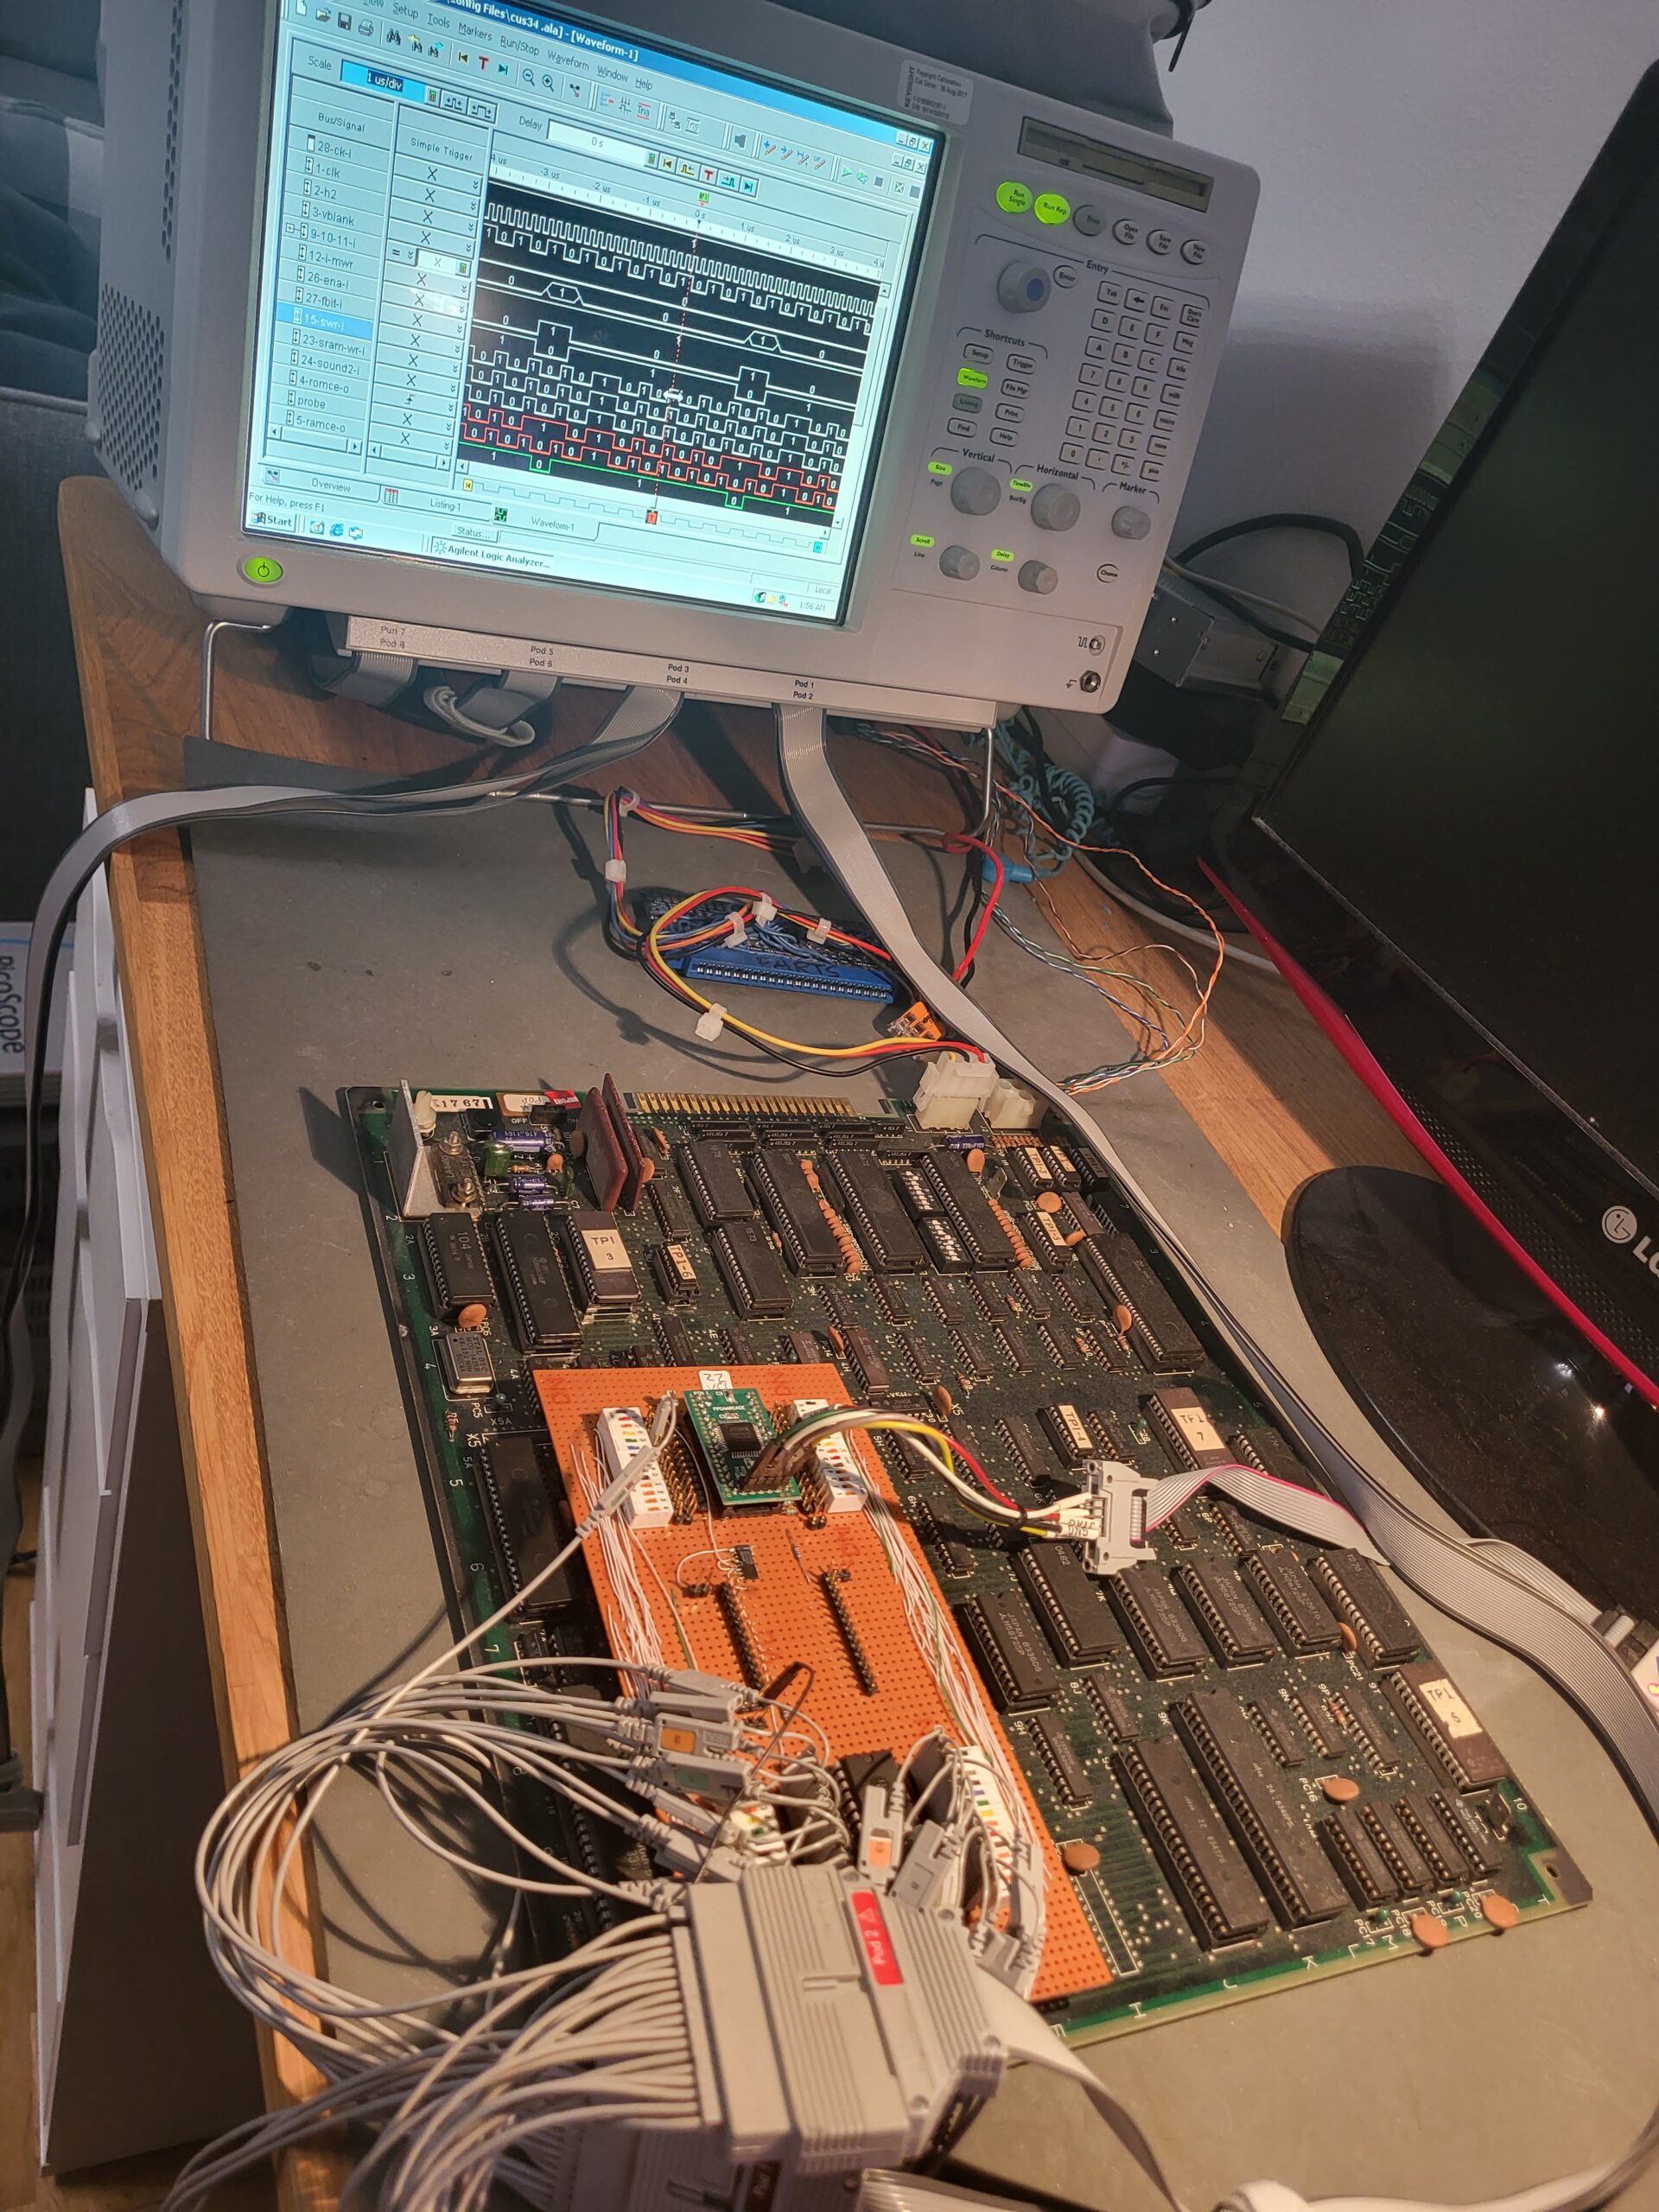
Using my 20 year old bit of vero-board, I can compare the replacement and real chip directly. The logic analyzer connects to both parts and dip switches let me isolate outputs from the replacement while still feeding it all the inputs. I worked out which pins where inputs/outputs and bidirectional first by isolating each pin and applying pull ups/downs.
I’ve got it all running now, and the advantage of this direct compare is that the analyzer can tell me if there are any differences at all between the chips, but also I can compare and tweak the timing. The CPLD used is way faster than the original and sometimes delay cells need to be used to add some hold timing. The disadvantage compared to reverse engineering the die is that I can only test functionality used in the game.
Now I understand what the chip does, I can put it back on the Zynq tester shown in the previous post and apply some unusual signals just to make sure it works correctly.
I’ve seen posts from a Japanese chap who has reverse engineered the die. Great job, but no source code as far as I can see yet.The code for this, along with all the other reverse engineer chips will be in the public R2 git repository, and used in our latest FPGA cores.
I’ve been shipping replacement modules for many years for the Namco28 pin chips (and other parts) so message me if you are in need. I have quite a few in stock currently.
Cheers,
Mike.
Namco CUS34 reverse engineering
I’ve been shipping Namco CUS34 replacements for a while and the majority of the engineering work was done over 10 years ago. Reverse engineering the silicon by decapsulation of the die, taking pictures and manually tracing them is best way to understand what is going on, but it’s very time consuming. Most of these chips are quite simple and have little internal state – but to make sure all paths are covered I’ve started to retest the chips using a little jig designed by my friend Wolfgang. This sits on top of an AMD Zynq board, and allows each pin to be driven and measured.
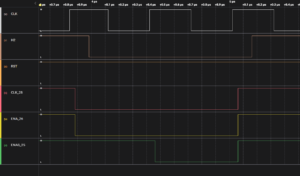
The test framework is written in Python, and then wavedrom (https://wavedrom.com/) is used to draw the waveforms.
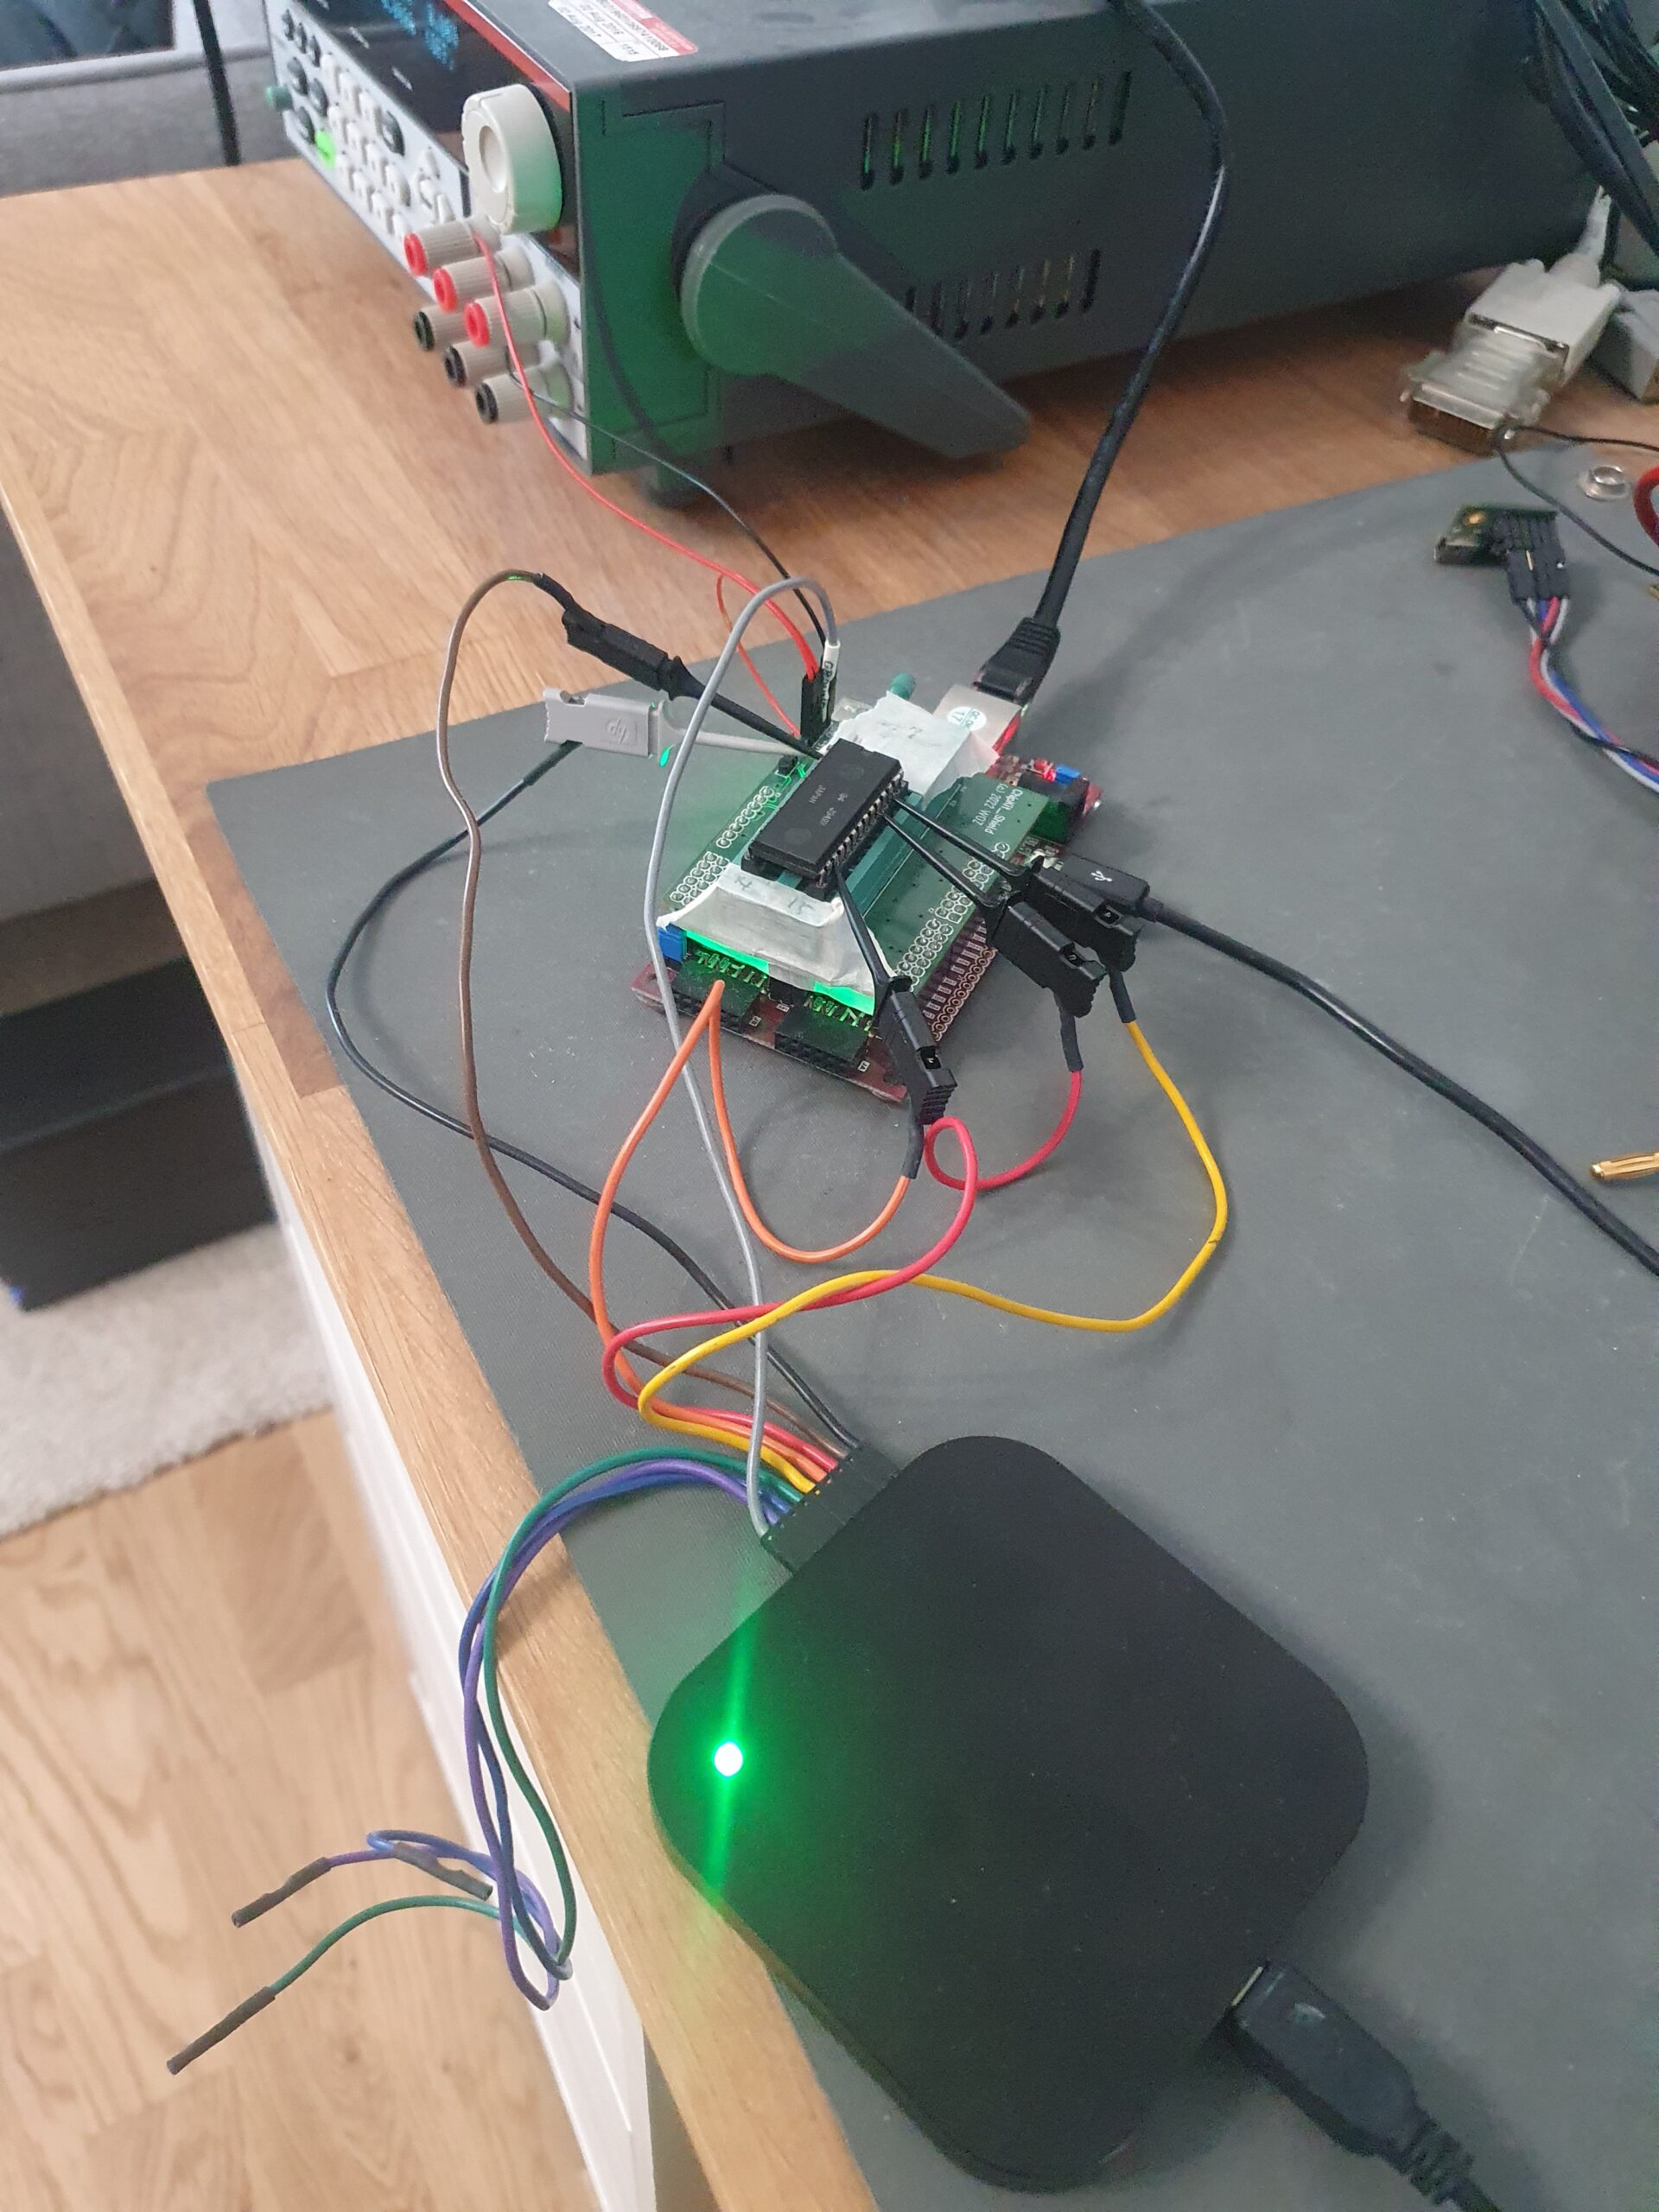
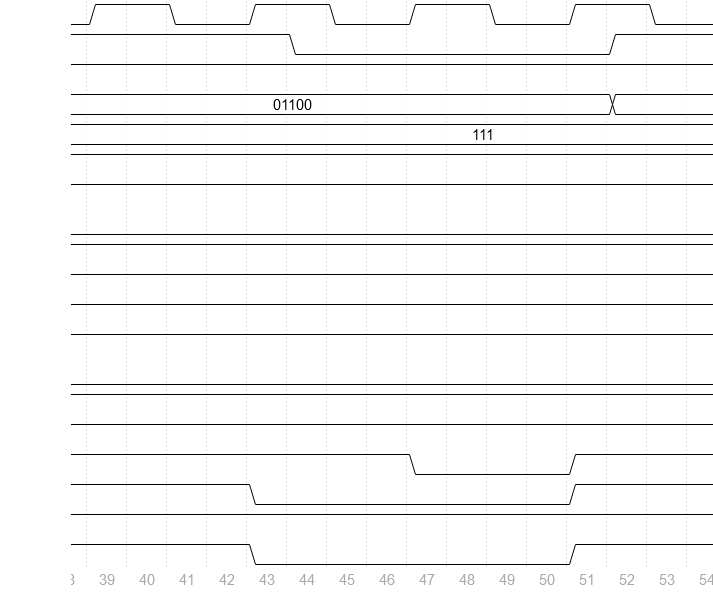
Sometimes you need a bit more timing information, so a logic analyser is also hooked up. This lets me see which edges are used.
A month or so ago I thought all was good – and then somebody tries it in a ToyPop board… ToyPop and Libble Rabble use the Namco System 16 Universal hardware.
Unlike the other boards which use this chip – Dragon Buster for example – pin 13 is tied low rather than high. This seems to put the chip in an entirely different mode. As far as I know, no schematics exist for these boards, so a brute force reverse engineering effort is underway.
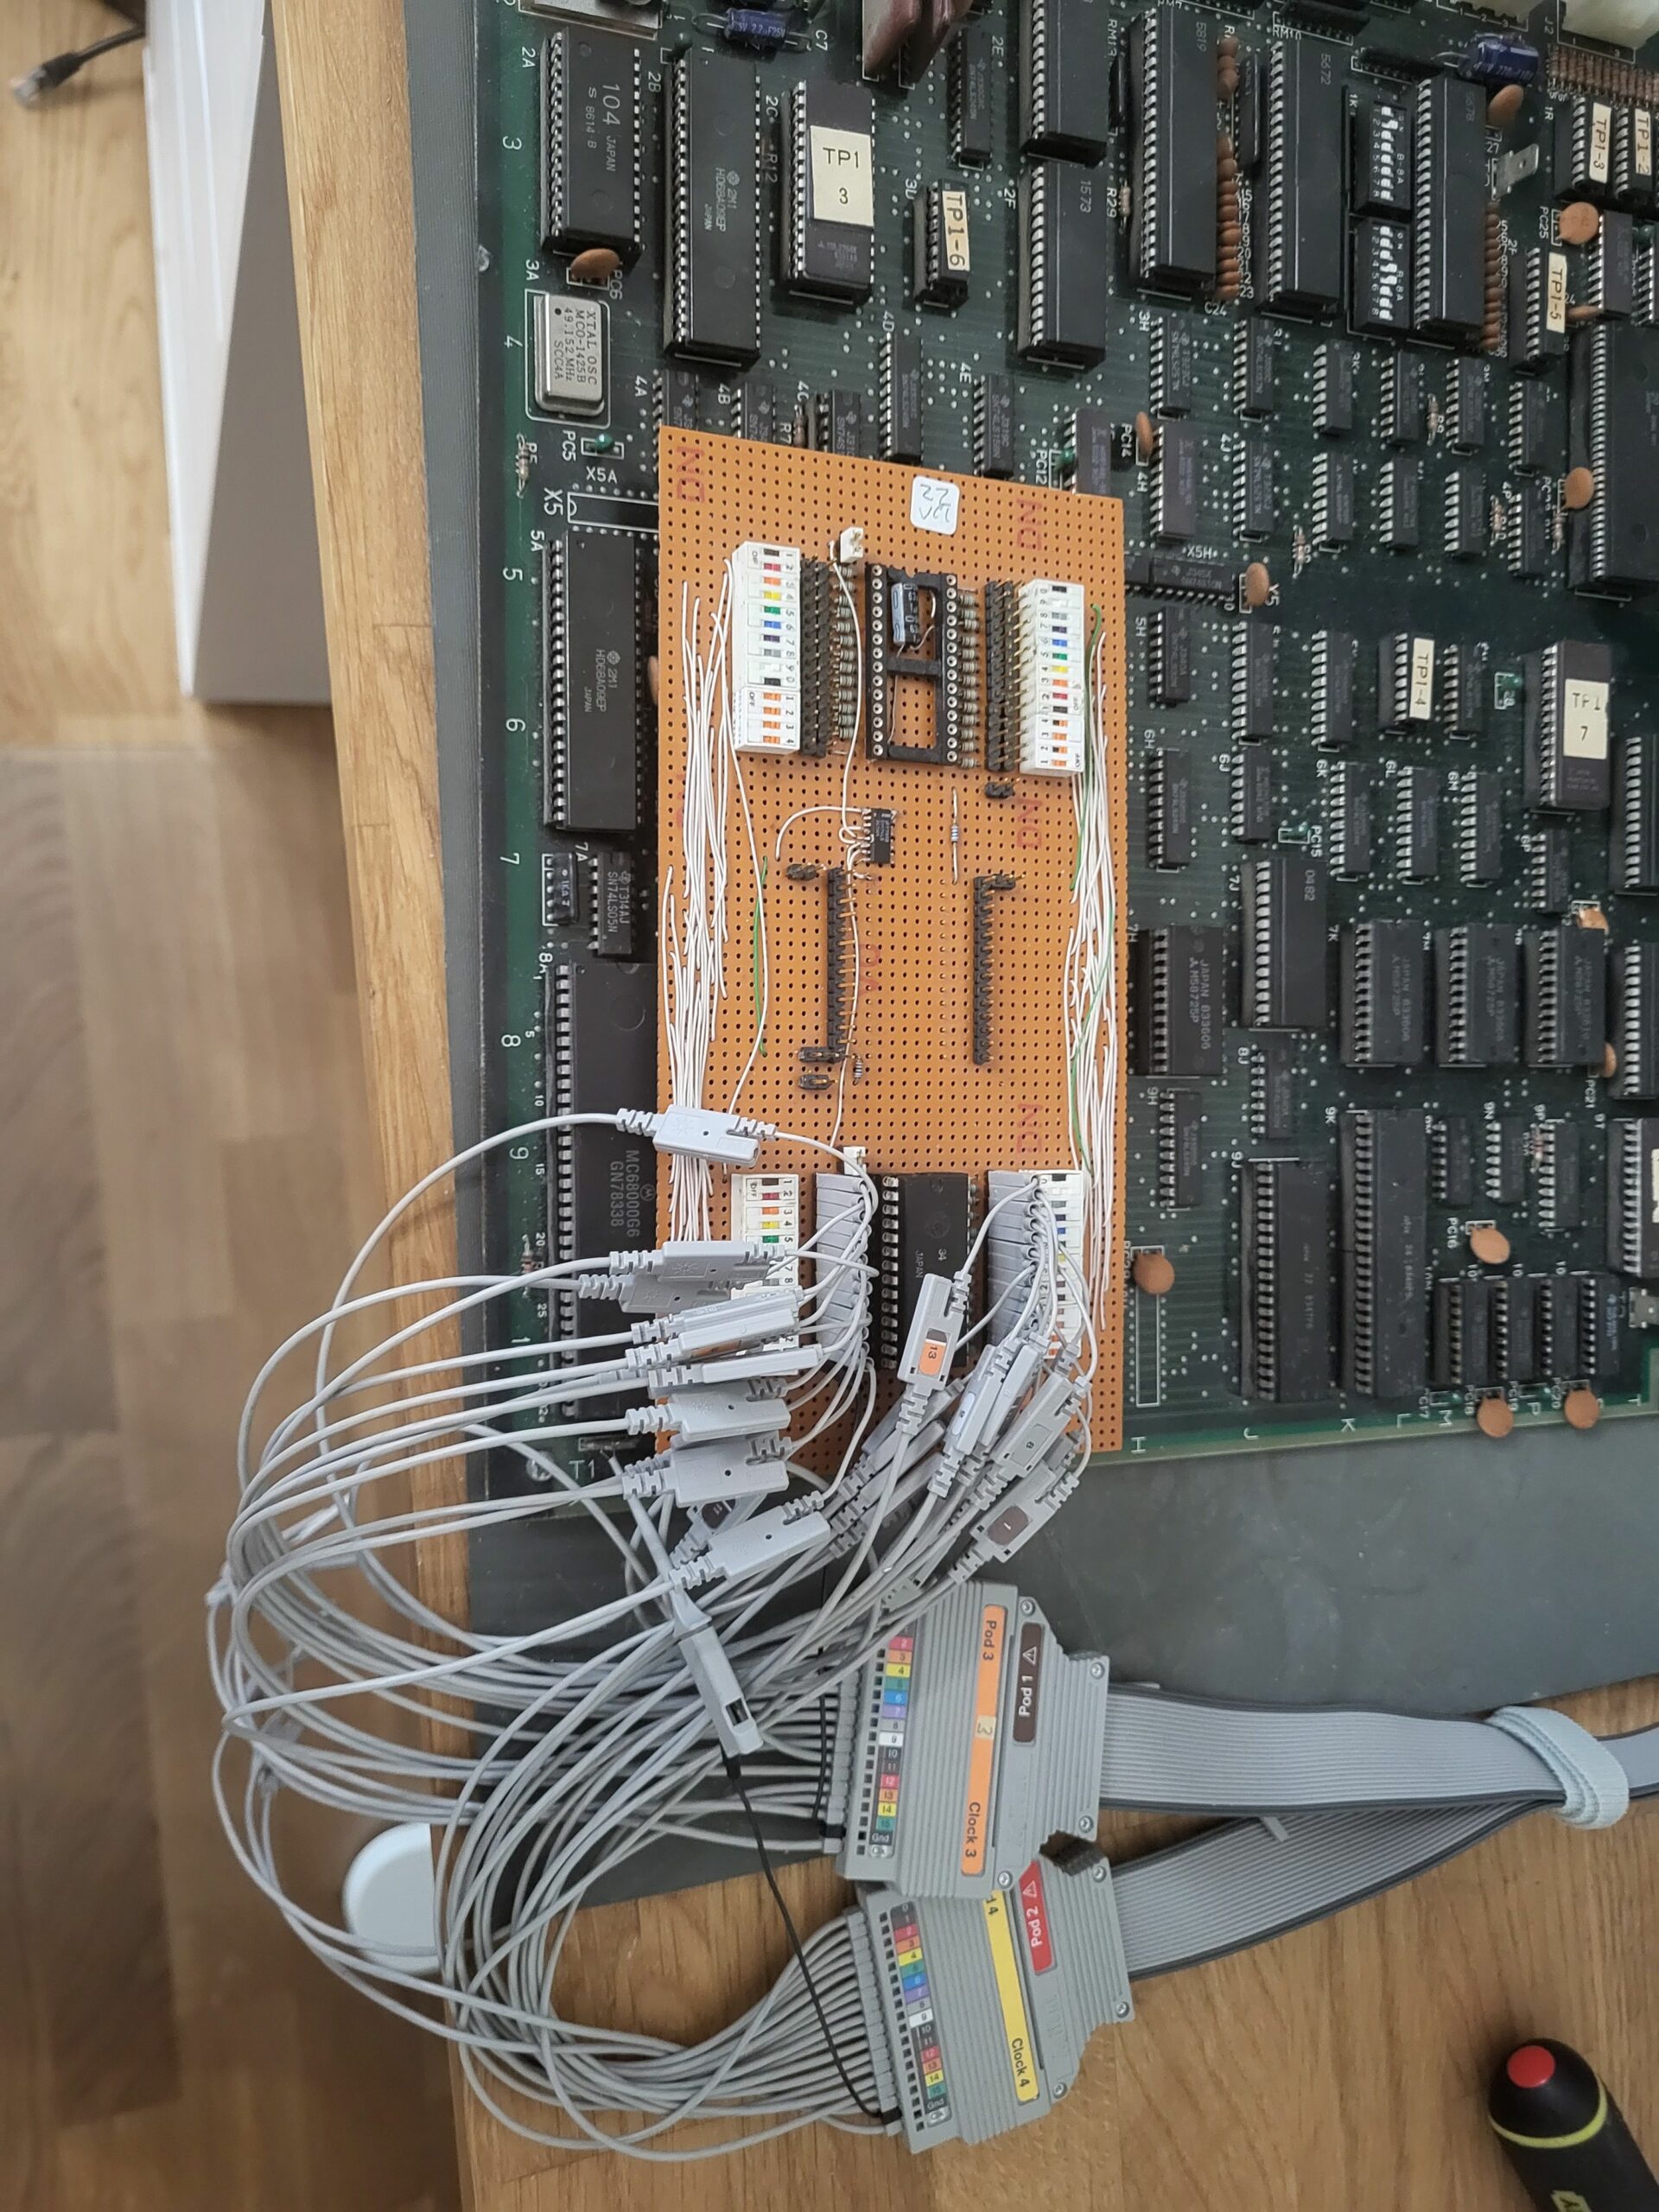
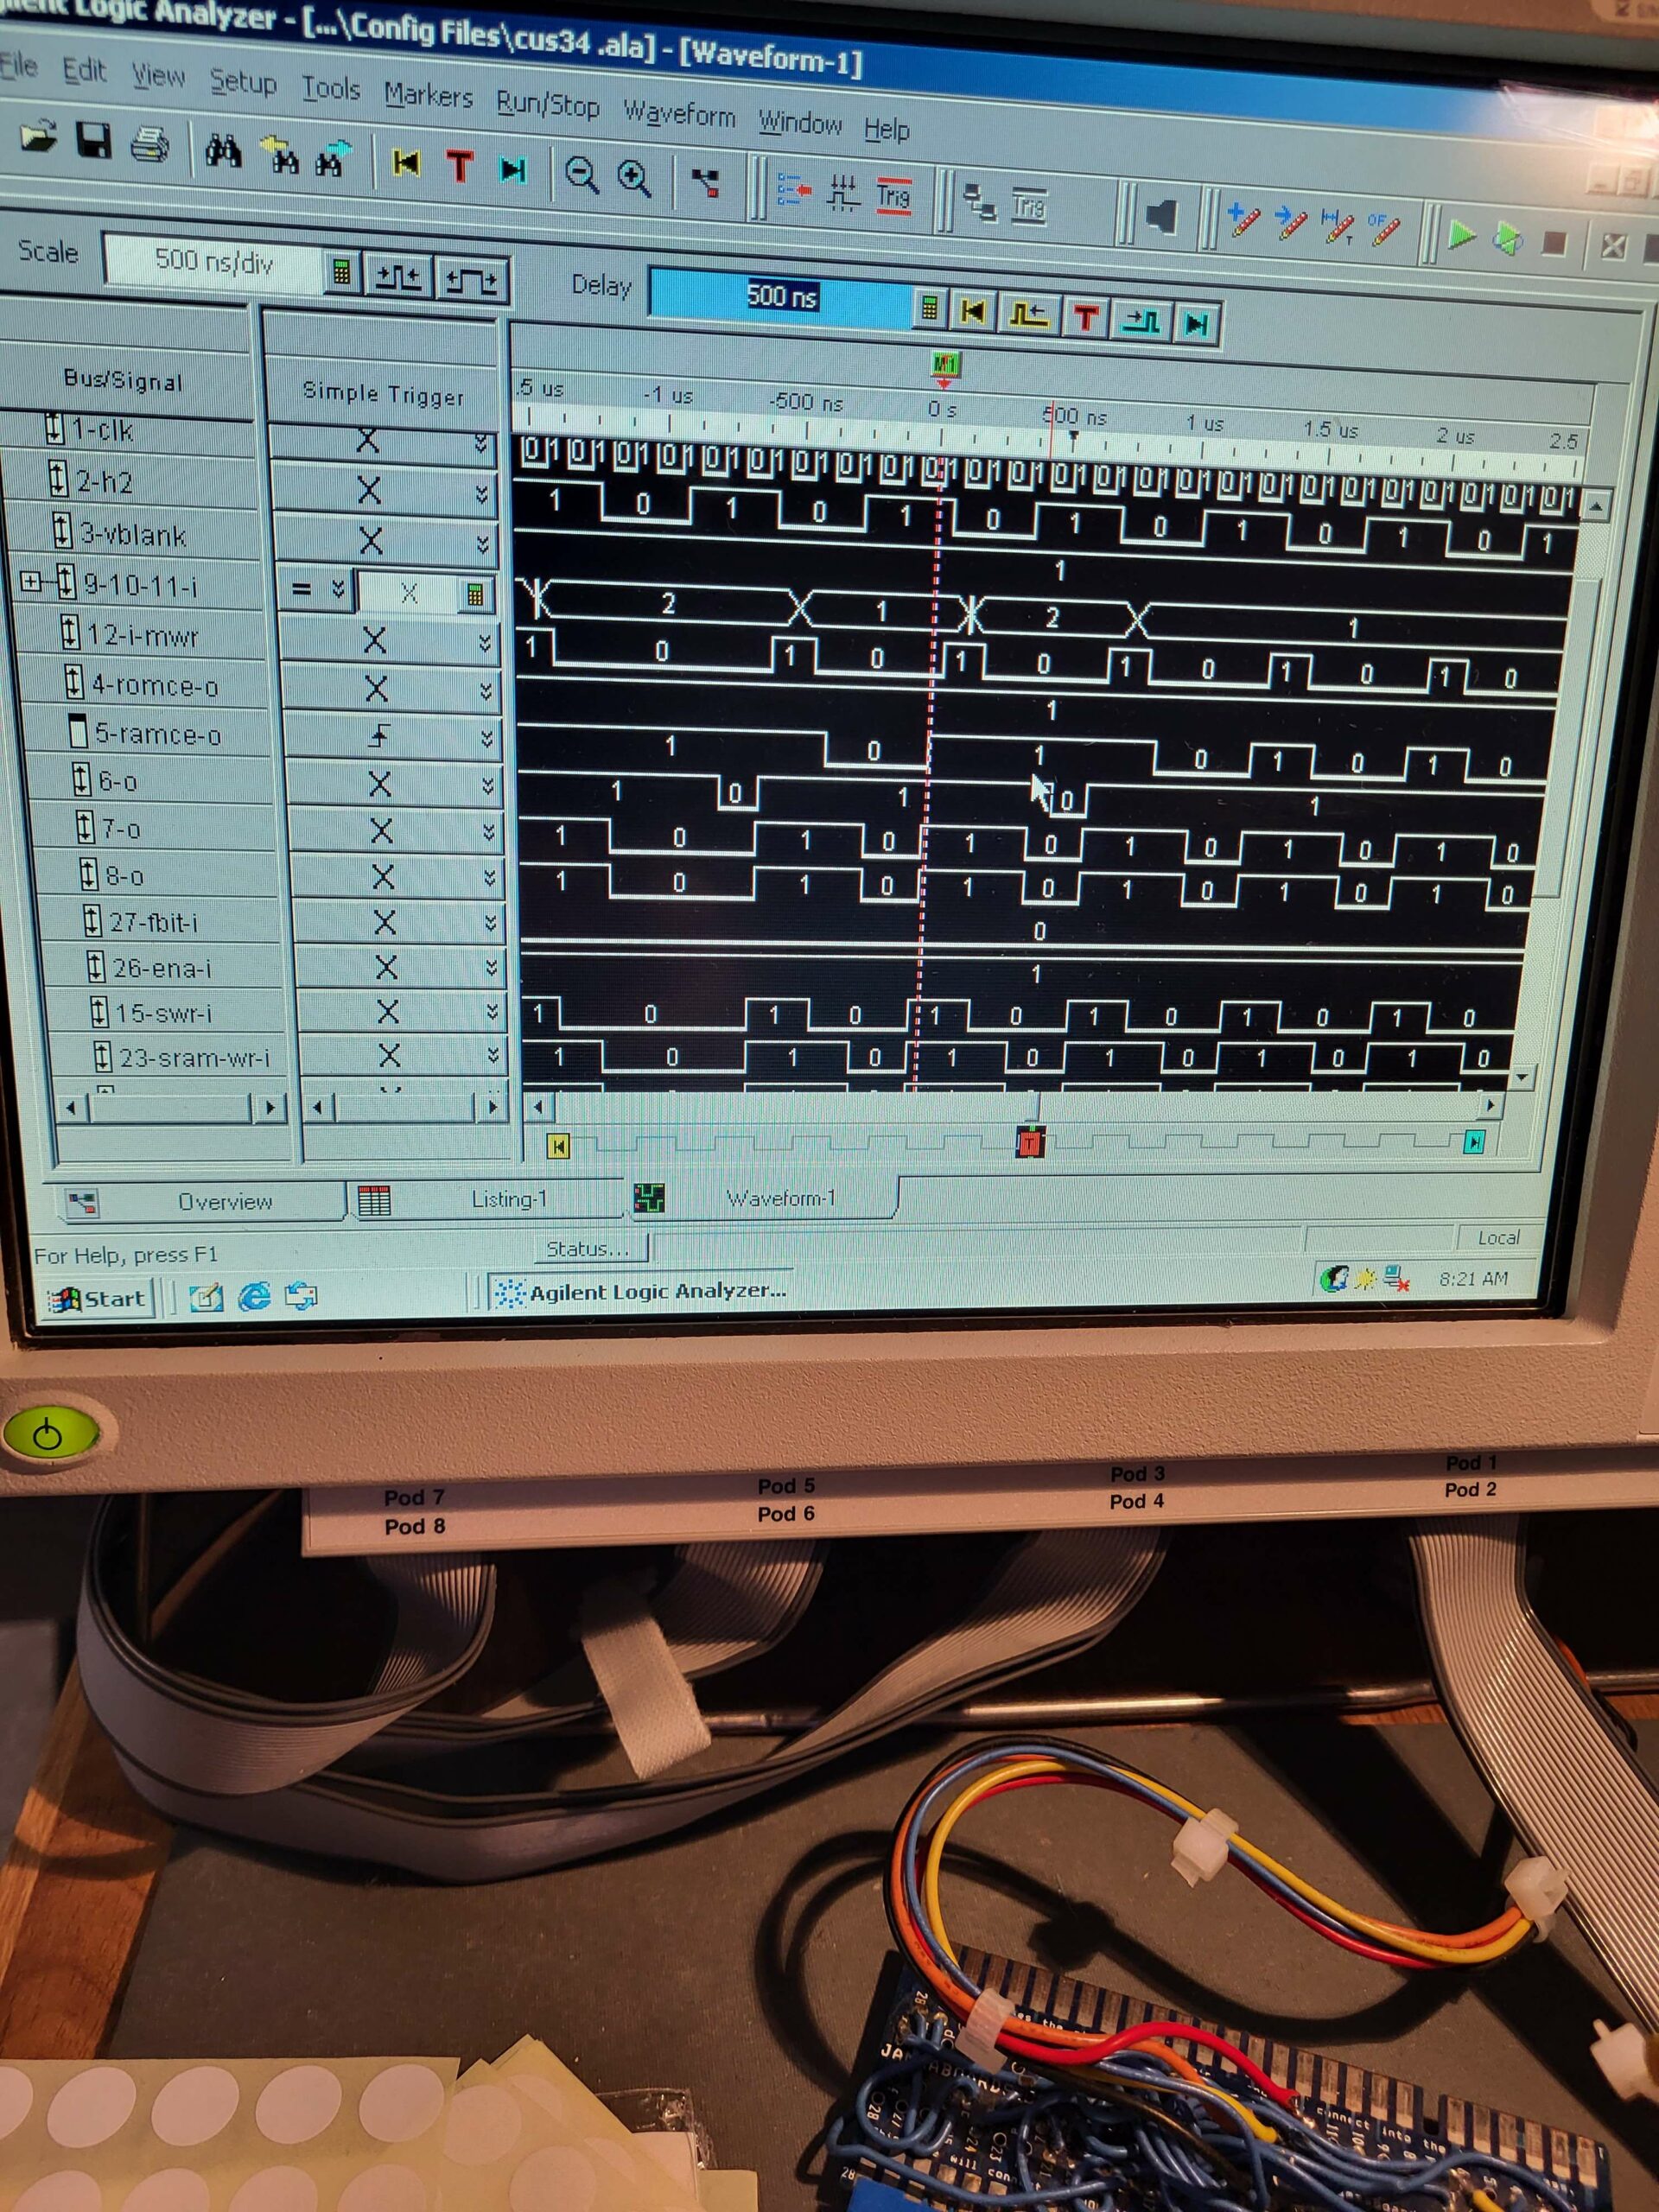
I dug out my old adapter board from 10 years ago. This let’s me isolate each pin and with the logic analyzer – here the big Agilent 1680 – I can work out which pin is an input, which is an output etc.
I’ve got to fit this around Replay2 design work – more on that shortly, but I hope to be done soon – and I’ll document it publicly.
/Mike
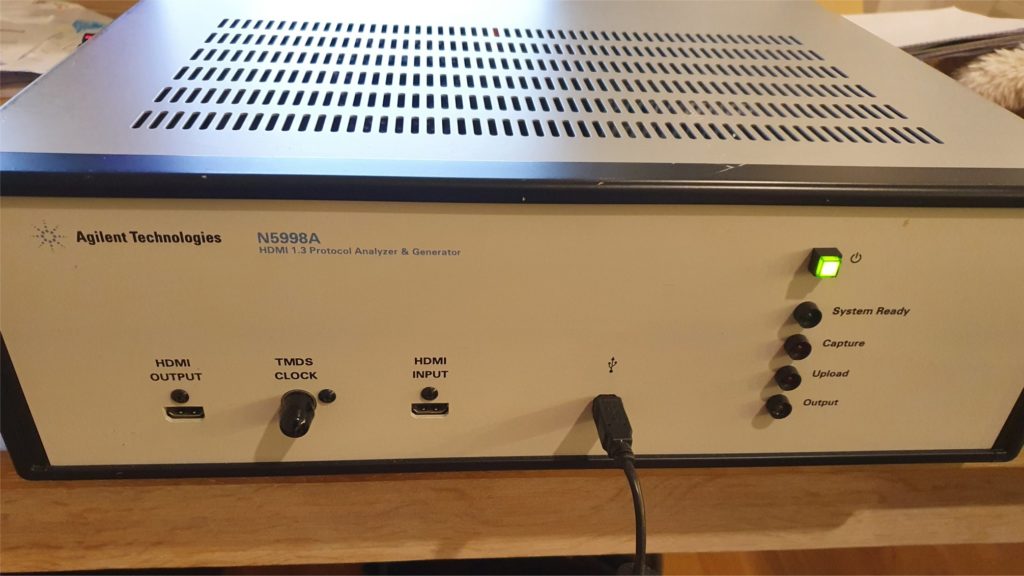
New toy – Agilent N5998A HDMI/DVI Analyser
Well, more time has passed. I had surgery on my jaw a few weeks ago in an attempt to remove part of a wisdom tooth that was left behind a few years ago. I’m in recovery, but it really knocked me out for a bit.
We are making good progress on both the DE10-nano support and Replay2 – more info shortly.
I saw the C65 group had invested in a HDMI analyzer box and I decided we should do the same. It’s something I’ve been considering for a while as the Amiga core on R1 has some issues over DVI with interlaced video and we’ve seen problems with the Arduino Vidor output as well. I want to make sure R2 works without any issues, so sometimes you just need a new toy :
Cheers, and Happy Halloween!
/MikeJ
Replay2 and DE10-nano support
Sorry it’s been a bit quiet here for the last few months. I had to move flat three times since January and all the retro kit has been in storage. Work has been intense and it’s only the last week or two that life is calming down enough to get the Retro stuff back on track.
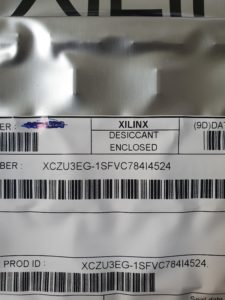
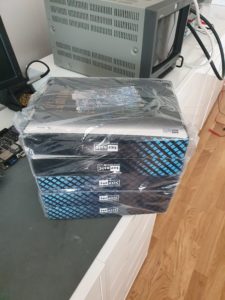
The initial plan was to launch our new board (Replay2) at the Revision demo party, but it was not to be. The Xilinx Ultrascale parts used on it arrived a few months ago, but the design and PCB layout is complex to say the least. Replay2 is an Mini-ITX form factor (170mmX170mm), so it can fit in standard cases. We have build options of 1 to 4GB of DDR4 memory on the processor system, and twin 8bit DDR3 128MByte memories on the FPGA. Digital video out, as well as 30bit analog RGB is provided, as well as a display port connection for developers.
We also provide USB3.1, a PS/2 connector (supports Amiga keyboard protocol) and Gigabit Ethernet. There are also some exciting mass storage options. The device also has a GPU on board we intend to fully utilize both from the GUI and from the Amiga core.
The Replay framework is being updated to support the board. Currently the same core can (in most cases) be built for Replay1 using Xilinx ISE, Arduino Vidor 4000 using Intel Quartus and now Replay2 using Xilinx Vivado. Our build system and Jenkins CI handles all this and rebuilds all cores that need it when a git commit occurs.
The cores we designed were always open source, and many have been ported to other systems, most notably Mister based on the Terasic DE10-nano platform. You get a lot of FPGA for your money there, and Mister has been very successful. While Replay2 is the system that I want to own, it is going to be more expensive. I also don’t always agree with some of the core changes which occur during “porting” (I’m a bit of a purist) and It occurred to me that we have already done most of the work needed by supporting the Vidor 4000 board. The SOC integration we need to do for Replay2 anyway, so we made a decision to support the DE10-Nano hardware and bring the Replay ecosystem to everybody.
I don’t know how long this will take, but I expect to have the Amiga core with a new RTG running shortly. It’s likely you will need to have a separate sd card, but it may be possible to run a different binary and coexist with the Mister designs. We have had many features for years that are only now appearing on other platforms, for example we have an ini file per core which configures the menu system and uploads all ROMs – so released binaries do not have any IP issues. We have a scalar under development as well, but it will take us a little while to catch up in other areas. The neat thing, is all this work to support DE10 is also applicable to R2 and we will of course add third party cores with the authors permission.
My aim since the first design releases (nearly 20 years ago) was to bring FPGA retrogaming to the masses, and I never thought it would become as mainstream as it has. Our code is currently being moved to github. Some of it is already available https://github.com/FPGAArcade/ and all designs will be public as soon as we sort out the licensing and finish tidying up.
/MikeJ